
When you add an image to your journal entry, you have the option of resizing it to display neatly in the editor.
- Click on Insert > Insert Image in the main menu (or use the keyboard shortcut Alt+I / ⌘+⌃+I).
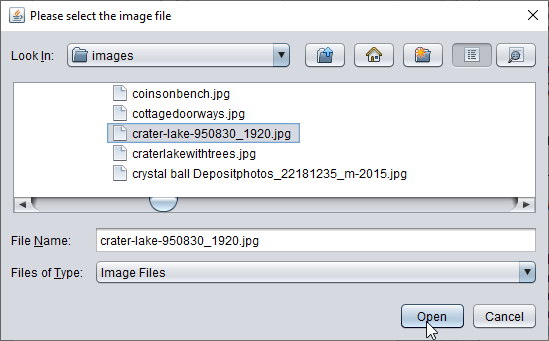
- Navigate to your chosen image and click ‘Open’…
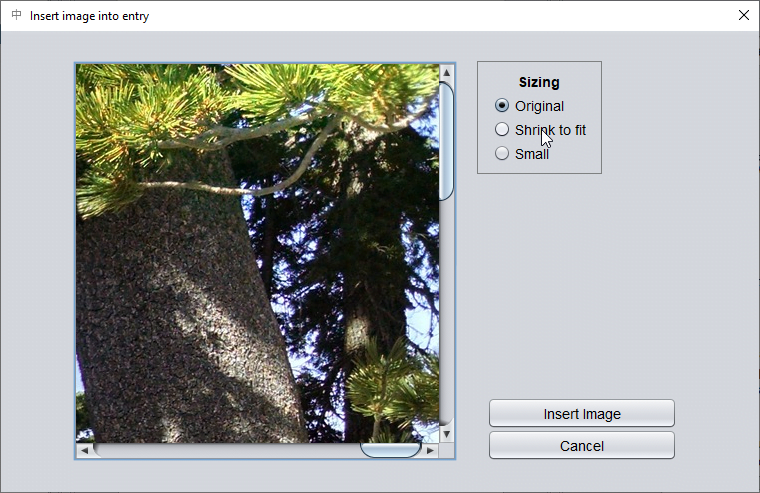
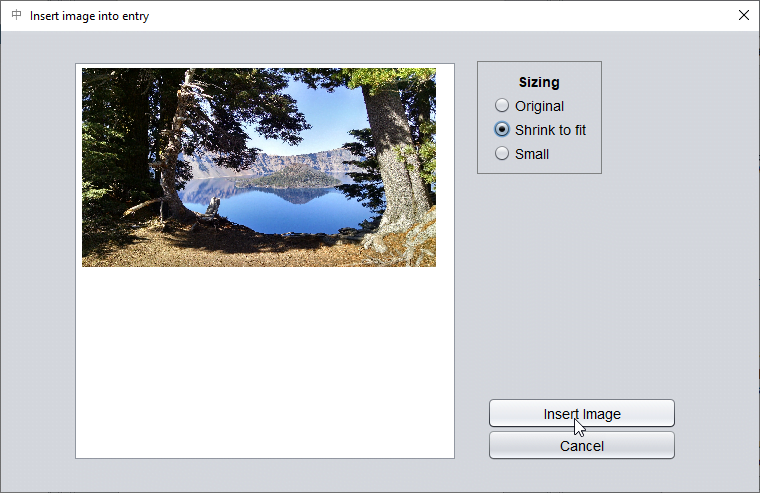
- The ‘Insert Image’ dialogue gives you three options: you can insert the image at its original size, shrink it to fit, or make it ‘small’ (that’s half the size of ‘shrink to fit’). If you choose ‘Shrink to fit’…
- …then the image is resized automatically to fit the current width of the editor. Click ‘Insert Image’ to add the image and close this dialogue.
If your image needs to be displayed at a larger size than will fit in the editor – e.g. a photo of a very large card spread where you want to see the detail on the cards – then you can also link to the original file. (Keyboard shortcut Alt+F or ⌘+⌃+ F.)